技术教程 · 2026年5月24日 · VirtLab
GNS3 完全指南:构建复杂的思科网络实验环境
全面介绍 GNS3 的安装配置、动态精灵使用、以及如何构建复杂的多厂商网络拓扑,是思科认证备考和网络实验的利器。
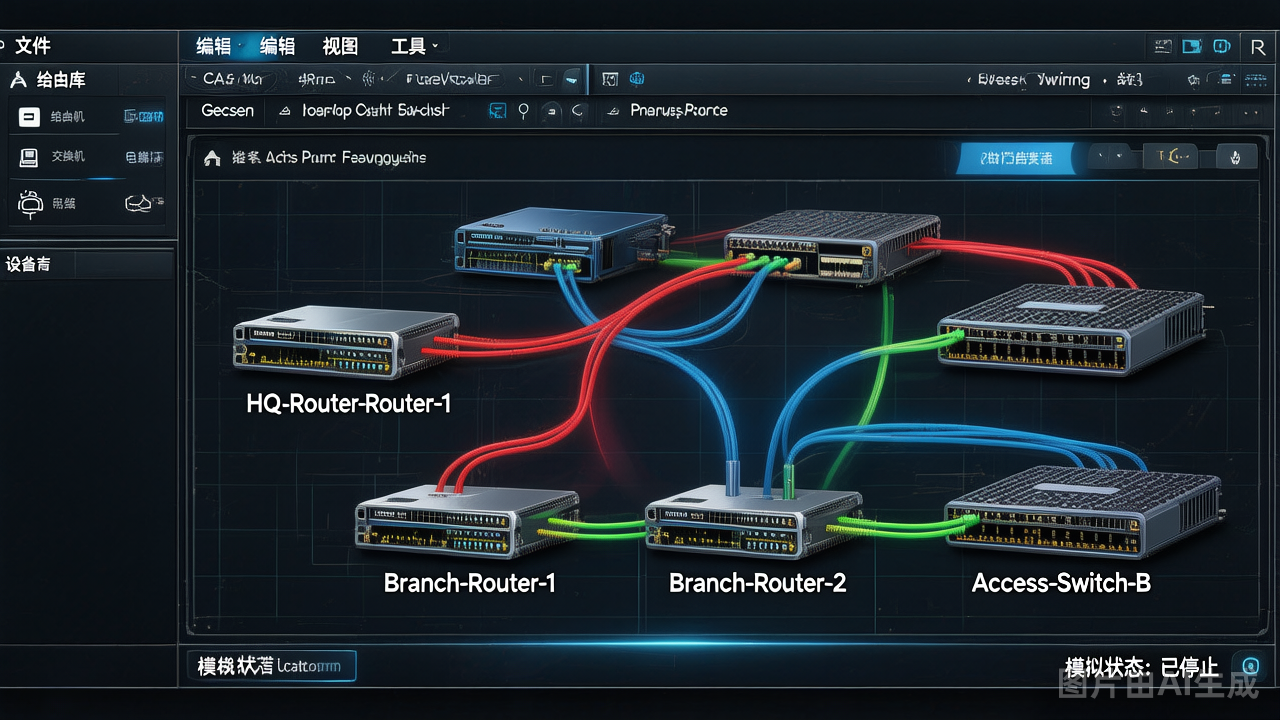
GNS3 完全指南:构建复杂的思科网络实验环境
GNS3(Graphical Network Simulator-3)是一款免费、开源的网络仿真软件,广泛用于思科认证考试准备和网络技术实验中。本文将为您提供完整的 GNS3 使用指南。
GNS3 简介
GNS3 是一款基于 Dynamips 和 QEMU 的网络仿真工具,主要特点包括:
- 完全免费开源:社区驱动,无授权费用
- 真实路由器系统:运行真实 Cisco IOS 镜像
- 多厂商支持:支持思科、Juniper、Fortinet 等
- 高度可定制:支持自定义设备模板和脚本
安装配置
系统要求
| 组件 | Windows | macOS | Linux |
|---|---|---|---|
| CPU | VT-x/AMD-V | VT-x/AMD-V | VT-x/AMD-V |
| 内存 | 8 GB+ | 8 GB+ | 8 GB+ |
| 磁盘 | 50 GB+ | 50 GB+ | 50 GB+ |
| 系统 | Windows 10/11 | macOS 10.15+ | Ubuntu 20.04+ |
安装步骤(Windows)
-
安装 GNS3 安装包
- 下载地址:https://gns3.com/software/download
- 选择 Windows 版本的安装包
-
安装 GNS3 Client GUI 和 Server
- 按照向导完成安装
- 选择本地或远程服务器模式
-
配置 IOS 镜像
- 打开 Edit → Preferences
- 选择 Dynamips → IOS Routers
- 添加您的 Cisco IOS 镜像文件
核心概念
动态精灵(Dynamips)
Dynamips 是 GNS3 的核心,允许在普通 PC 上模拟运行 Cisco IOS:
# Dynamips 虚拟路由器架构
┌─────────────────────────────────┐
│      GNS3 GUI (客户端)          │
├─────────────────────────────────┤
│     GNS3 Server (服务端)         │
├─────────────────────────────────┤
│      Dynamips (虚拟化引擎)        │
├─────────────────────────────────┤
│      Cisco IOS 镜像              │
└─────────────────────────────────┘
虚拟交换
GNS3 支持多种交换方式:
| 交换类型 | 说明 | 适用场景 |
|---|---|---|
| Ethernet Switch | 二层交换机 | 简单实验 |
| Frame Relay Switch | 帧中继交换机 | 广域网实验 |
| ATM Switch | ATM 交换机 | 电信网络实验 |
| Cloud | 连接到物理网络 | 互联网访问 |
构建实验拓扑
实验 1:基础路由实验
创建简单的双路由器拓扑:
[PC1] ---- [SW1] ---- [R1] ---- [R2] ---- [SW2] ---- [PC2]
          192.168.1.0/24    10.1.1.0/24    192.168.2.0/24
R1 配置:
Router> enable
Router# configure terminal
Router(config)# hostname R1
R1(config)# interface FastEthernet0/0
R1(config-if)# ip address 192.168.1.1 255.255.255.0
R1(config-if)# no shutdown
R1(config-if)# exit
R1(config)# interface Serial0/0
R1(config-if)# ip address 10.1.1.1 255.255.255.0
R1(config-if)# clock rate 64000
R1(config-if)# no shutdown
R1(config)# ip routing
R1(config)# end
R1# write memory
R2 配置:
Router> enable
Router# configure terminal
Router(config)# hostname R2
R2(config)# interface FastEthernet0/0
R2(config-if)# ip address 192.168.2.1 255.255.255.0
R2(config-if)# no shutdown
R2(config-if)# exit
R2(config)# interface Serial0/0
R2(config-if)# ip address 10.1.1.2 255.255.255.0
R2(config-if)# no shutdown
R2(config)# ip routing
R2(config)# end
R2# write memory
实验 2:OSPF 多区域配置
        Area 0
  ─────[R1]────
   │           │
Area 1      Area 2
[R2]        [R3]
  │           │
192.168.1.0  192.168.2.0
OSPF 配置:
! R1 配置
R1# configure terminal
R1(config)# router ospf 1
R1(config-router)# network 192.168.1.0 0.0.0.255 area 1
R1(config-router)# network 10.1.1.0 0.0.0.255 area 0
R1(config-router)# network 10.1.2.0 0.0.0.255 area 2

! R2 配置
R2# configure terminal
R2(config)# router ospf 1
R2(config-router)# network 192.168.1.0 0.0.0.255 area 1
R2(config-router)# network 10.1.1.0 0.0.0.255 area 0
高级功能
1. 项目模板
保存常用拓扑为模板:
# 导出项目模板
File → Export → Project Template

# 导入项目模板
File → Import → Project Template
2. 脚本自动化
使用 Python 自动化配置:
#!/usr/bin/env python3
import paramiko
import time

def configure_router(ip, username, password, config):
    client = paramiko.SSHClient()
    client.set_missing_host_key_policy(paramiko.AutoAddPolicy())
    client.connect(ip, username=username, password=password)

    shell = client.invoke_shell()
    for line in config:
        shell.send(line + '\n')
        time.sleep(0.5)

    output = shell.recv(65535).decode('ascii')
    client.close()
    return output
3. VLAN 和 VTP 配置
! 配置 VTP 服务器
Switch# configure terminal
Switch(config)# vtp mode server
Switch(config)# vtp domain cisco
Switch(config)# vlan 10
Switch(config-vlan)# name SALES
Switch(config-vlan)# vlan 20
Switch(config-vlan)# name IT

! 端口加入 VLAN
Switch(config)# interface FastEthernet0/1
Switch(config-if)# switchport mode access
Switch(config-if)# switchport access vlan 10
Switch(config-if)# no shutdown
性能优化
内存优化
Dynamips 内存占用较高,可通过以下方式优化:
# 在 GNS3 中配置
Edit → Preferences → Dynamips → Advanced
- 启用 idlepc 值
- 设置 ghostios 和 ghostuopks
- 调整 virtual memory size
CPU 优化
# 启用 CPU 虚拟化
# Windows: 在 BIOS 中启用 VT-x
# Linux: 验证 KVM 模块
lsmod | grep kvm
常见问题解决
| 问题 | 原因 | 解决方案 |
|---|---|---|
| IOS 加载失败 | 镜像不兼容 | 使用正确的 IOS 版本 |
| 路由器无法启动 | idlepc 未设置 | 运行 idlepc finder |
| 高 CPU 占用 | ghostios 未启用 | 启用 ghostios 功能 |
| 无法连接外网 | cloud 配置错误 | 检查桥接网络设置 |
总结
GNS3 是网络工程师的重要工具,尤其适合思科认证备考和复杂的网络实验。通过掌握 GNS3 的使用,您可以构建几乎任何网络拓扑,为您的网络职业生涯打下坚实基础。
#GNS3
#Cisco
#思科
#网络仿真
#Dynamips